Just Because, I decided to walk through the toner transfer process with my current things at hand. The biggest variable, that I was hoping to be the only one, was the paper. I started with the plain copy paper that I use for printing.
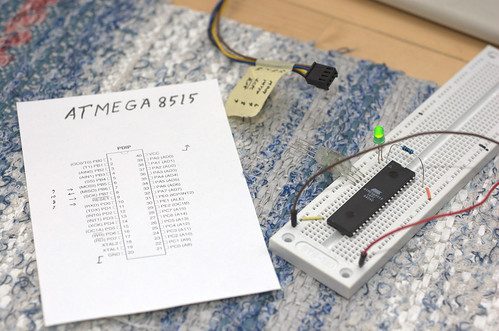
I drew up a small breakout board. SOIC-8 to be exact, quite useless. The results looked good on paper so I cleaned a piece of very thin two-sided board I have a big sheet of and ironed the design on until it shows through. In hindsight, the taping needs more thought because the glue gets around and masks a part of the backside of the board with a sticky mess.

I decided to solder on a chip I took out of something while trying out a small butane torch. SMD desoldering works out pretty nicely with that. Destroying the board may or may not happen with through-hole components, though.
After some inspection I decided pins 1-2 were shorted because of ragged copper, maybe under-etching, and a solder bridge that I can't get out without clearing the whole board. Funnily enough that's the output and negative in on LF353, so I have half of it permanently wired as a buffer.

Not a total loss, so I decided to try it out. I put -+ voltages on the chip, attached the scope to the outputs, wired both sides as voltage followers and fed some kHz sine in.
The result: it works. I took out the feedback on the left and the sine remained. There must be a short. Disconnecting the right side had (un)predictable results, so that probably works fine.

On a whim, I also fiddled with the supplies a bit. The positive clips normally as does the negative until you get to a certain point where JFET opamps do something funny: The negative clipping comes out as positive max.
So, I'm going to need to find some other type of paper and try not to get anything on the backside. Or use single sided board instead. And it wasn't a complete waste, I have a spare extra wide DIL package LF353 dual opamp now. :)